Event Explorer
Overview
Event Explorer is your command center for investigating user activity. It gives you a complete view of events so you can:
- Investigate suspicious behavior in real time.
- Proactively hunt threats before they escalate.
- Drill into details across accounts, devices, IPs, and more.
Search & Filtering
Zero in on relevant events easily, so investigations are faster and more focused.
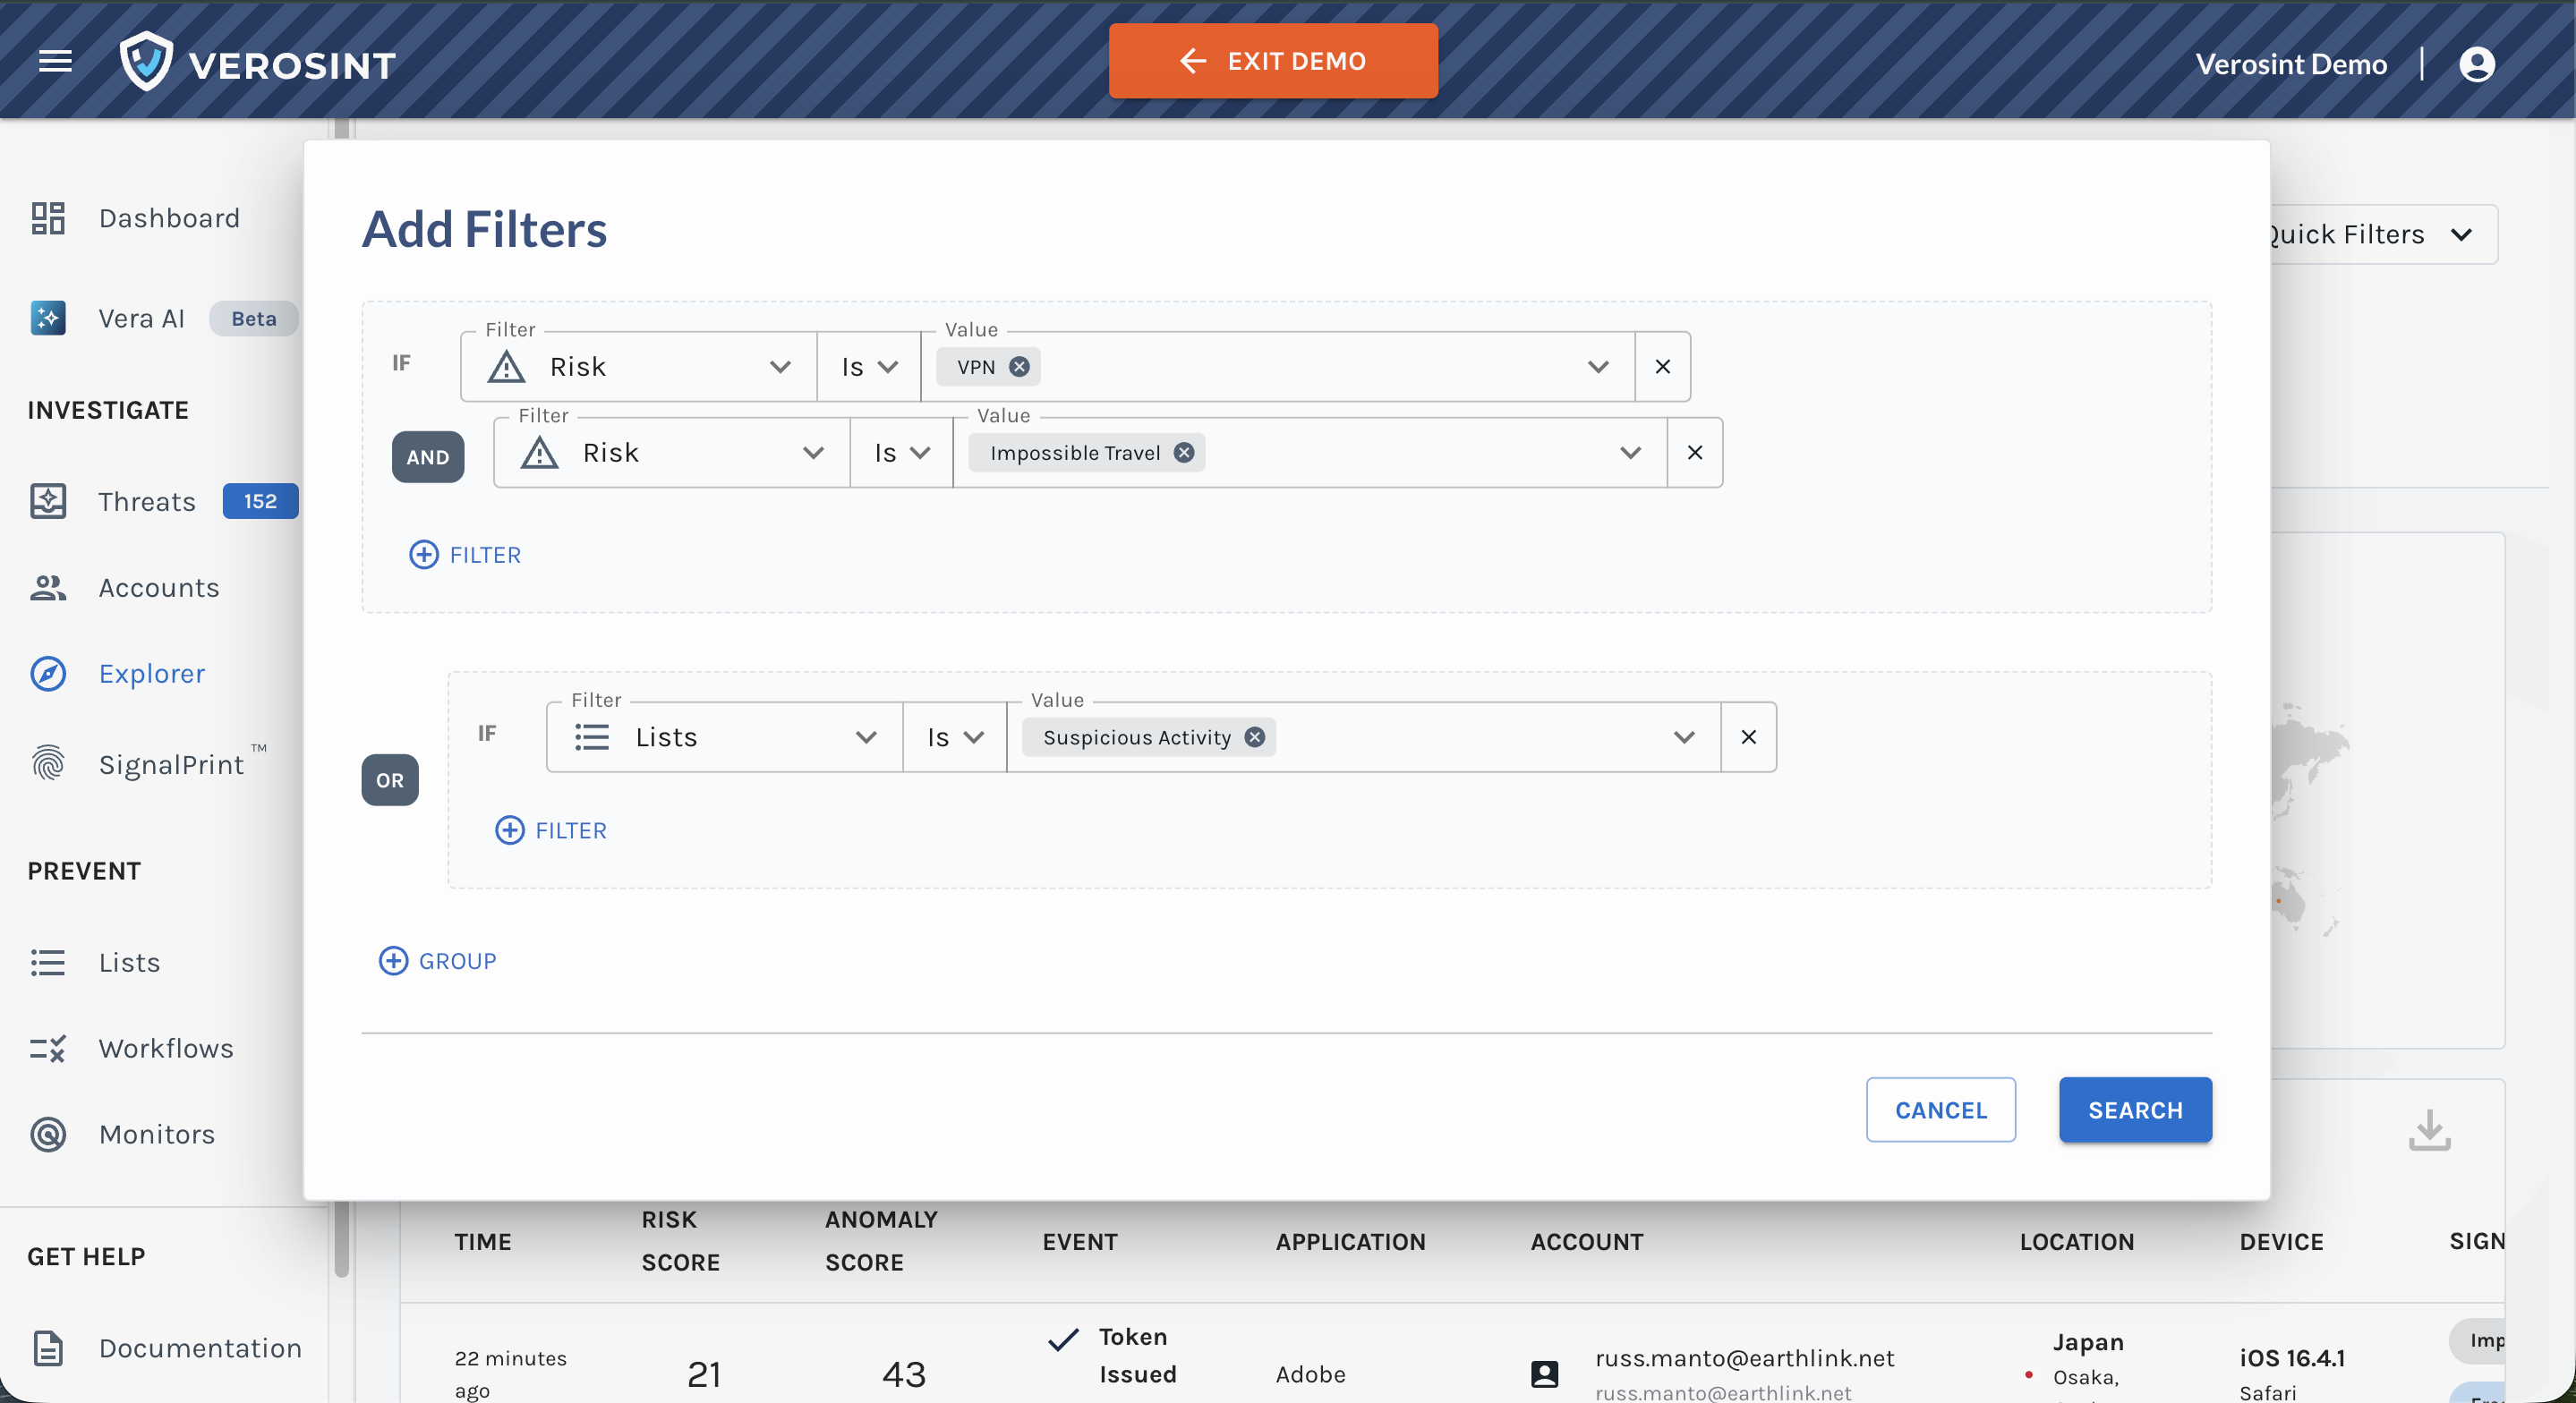
- Build advanced searches using OR and Group filters for maximum flexibility.
- Easily search across standard filters — Identifiers, Lists, Risks, and Signals — to focus on what matters most. Search for event data within the last 180 days.
- Quick Filters give one-click access to common investigations (e.g., Account Takeover, Credential Stuffing, etc.).

Event Explorer List searches are historical, showing items that were on the List when the event happened. Expired items may appear in results even if they’re no longer on the List.
Dynamic Views of Aggregated Events
Pivot across perspectives to quickly spot trends and anomalies in your data.
- Toggle between Events, Accounts, IPs, Sessions, Prints, Emails, or Phones tabs to view results from different angles.
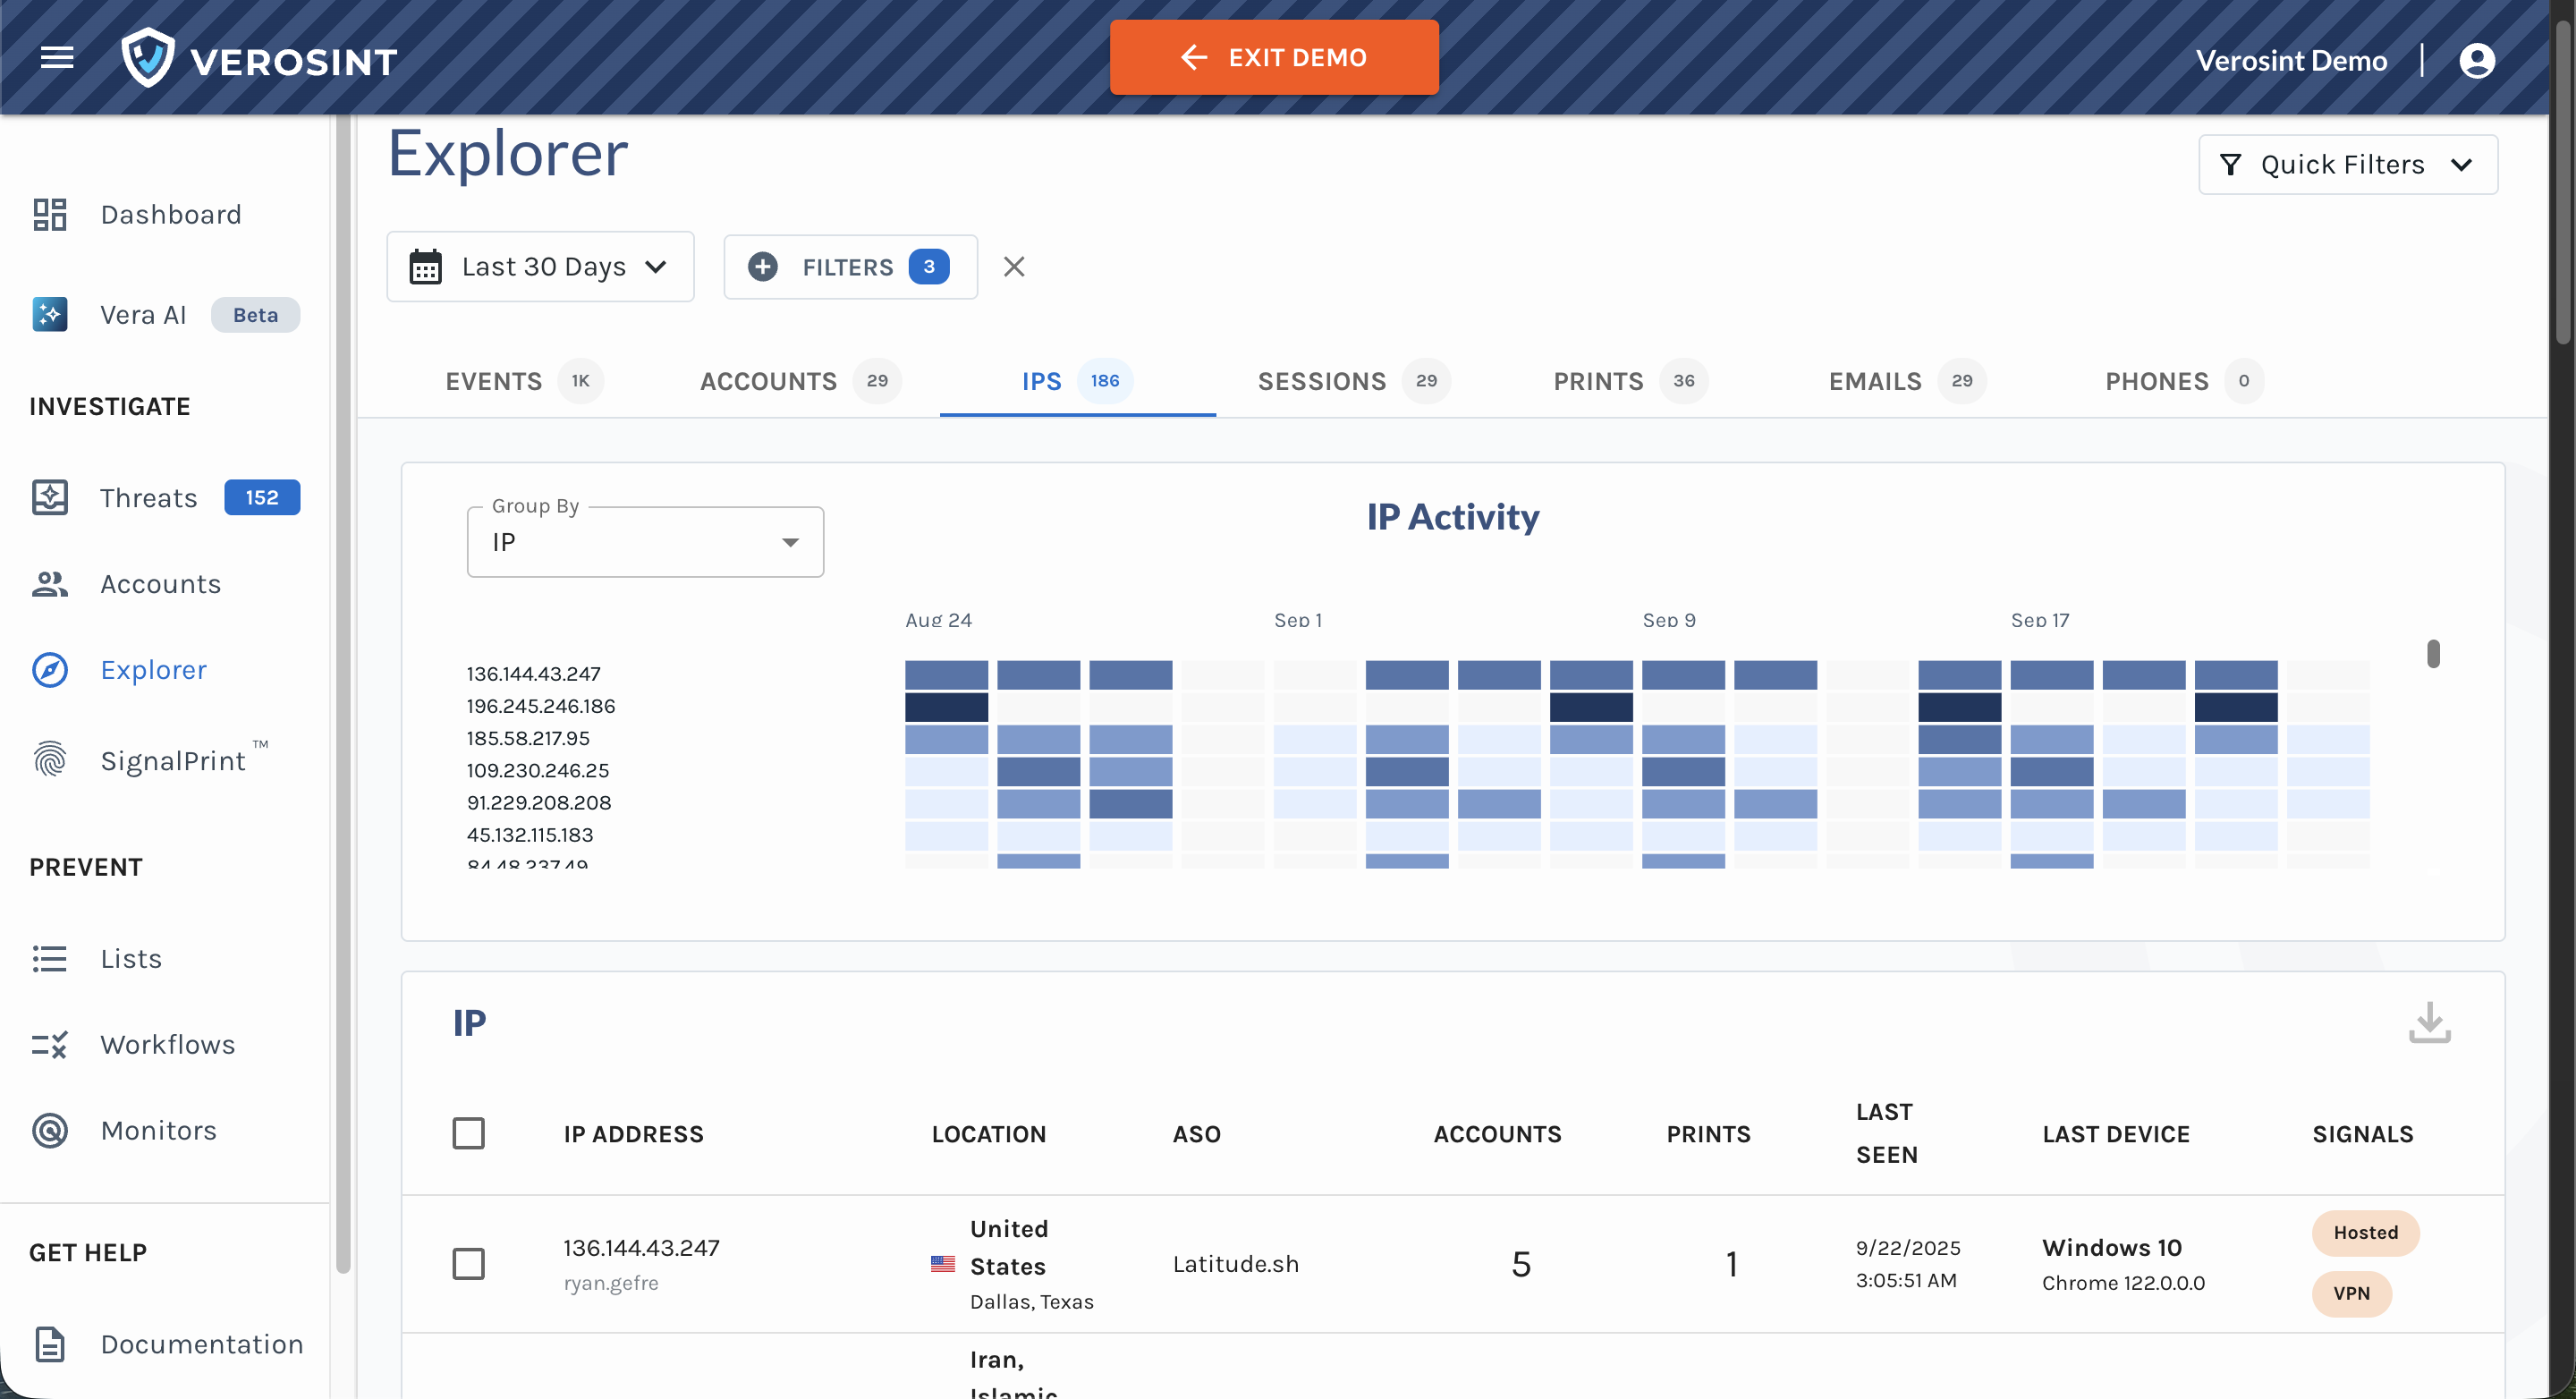
Each tab (except Events) shows resulting events grouped by that attribute. For example, the Accounts tab organizes events by your selected filters, grouped by Account.
- Graphs and tables update instantly as you refine filters.
- Click any row to explore detailed information about that attribute.

IPs tab organizes events by your selected filters, grouped by IP addresses
Collaboration & Sharing
Easily share insights and investigations with your team to collaborate effectively.
- Bookmark any search, including selected filters, and easily share it with your team by copy/pasting the URL.
- Export up to 10,000 rows from any table to review and share internally.
Seamless Investigation Across the Platform
Start in Explorer and follow the investigation wherever it leads, uncovering patterns and hunting threats efficiently.
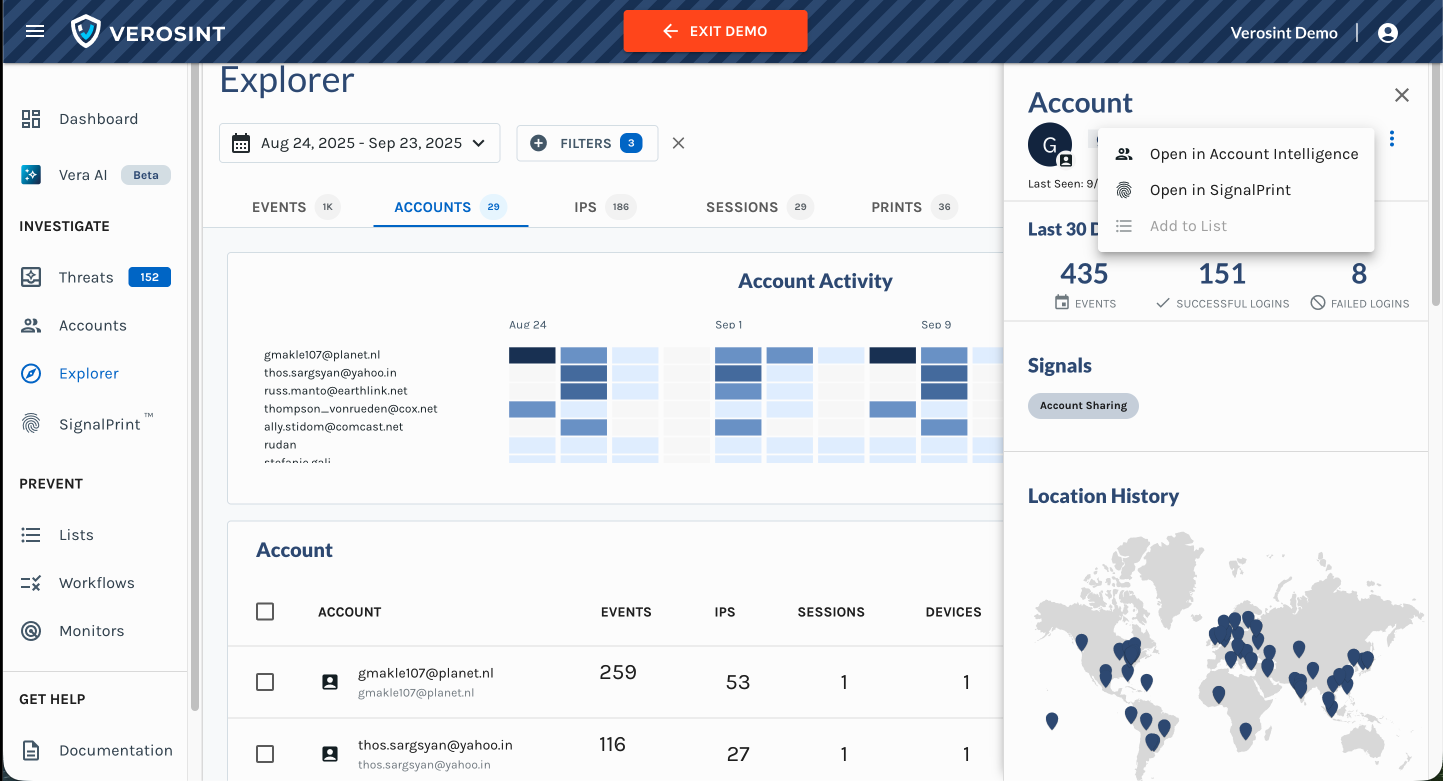
- Start investigating in Event Explorer, then continue seamlessly to Account Intelligence, SignalPrint, or Lists.
- Detail panels surface rich metadata for any attribute and let you add it directly to a List.
- Tables let you quickly add multiple attributes to a List, so you can pivot from overview to deep investigation in seconds. Note: Events cannot be added to a List.

Start in Event Explorer, then continue to Account Intelligence, SignalPrint, or Lists.
Sending Workspace Custom Data, or Past Events
- You can attach custom data to the events you send Verosint to process. Add this information to the API request using the
workspaceCustomDatafield in JSON format. Custom data is available across Verosint (Event Explorer, Lists, Monitors, Rule Sets, etc.), and limited to 8 KB in size.- Events added with older timestamps will show the state of the signals at the time the events were processed by Verosint.
Updated 2 months ago